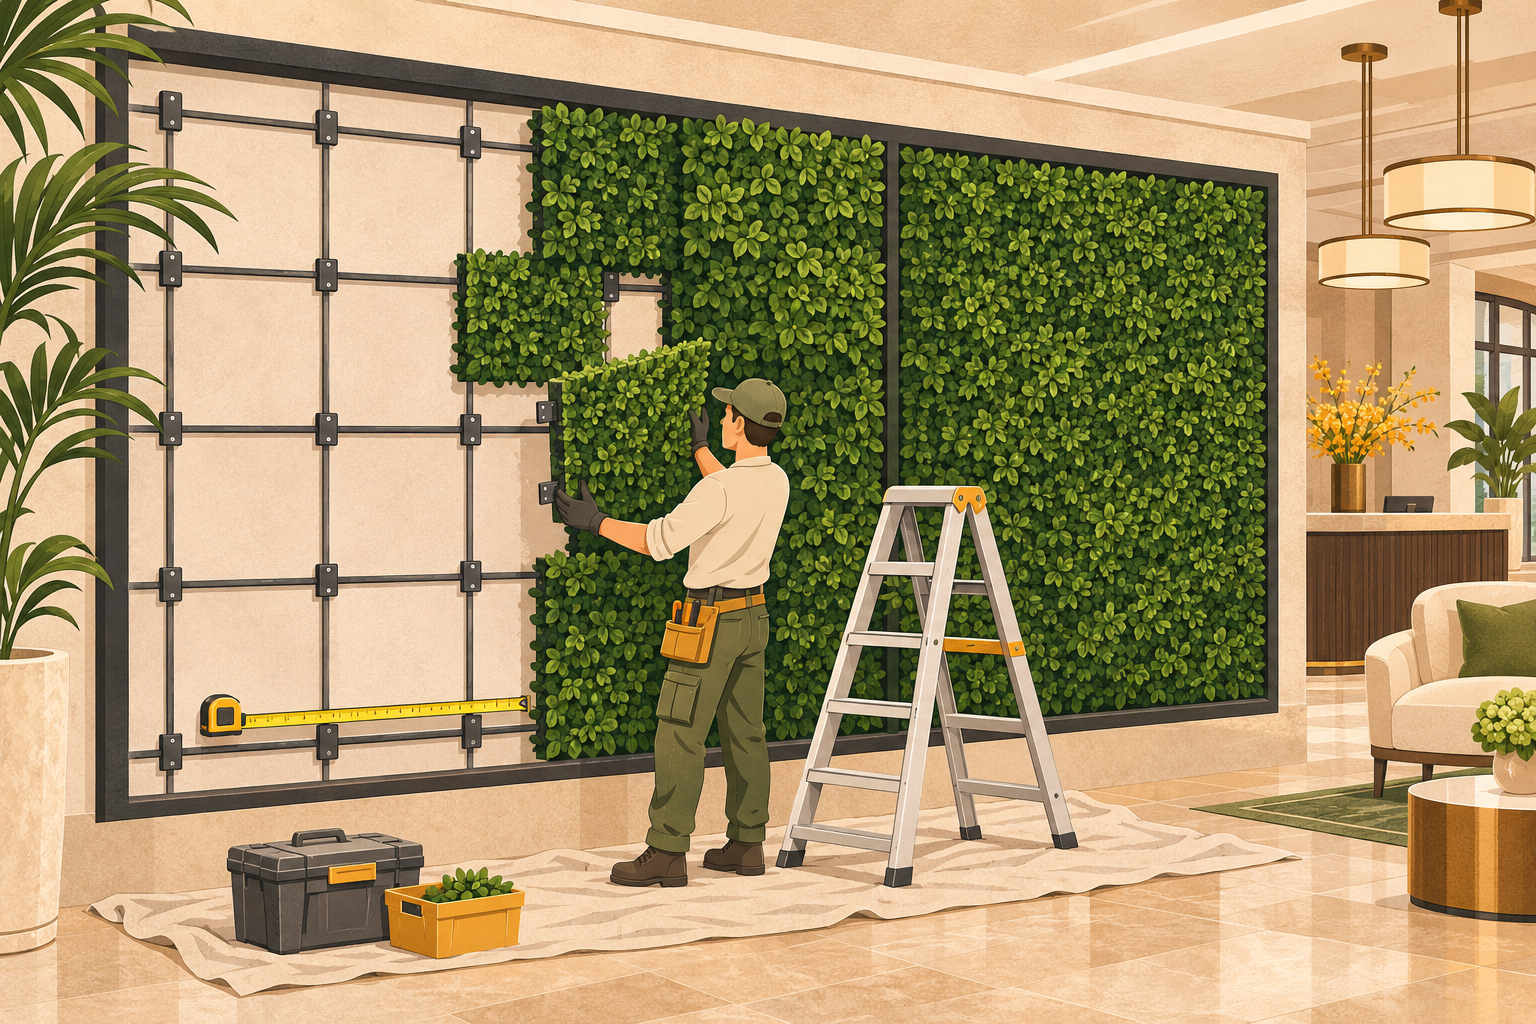
If you're specifying an artificial green wall for a hotel lobby, a restaurant patio or a multifamily amenity space, the install happens in four steps: check the site, choose a mounting method, hang and seam the panels, then finish the edges. Most of the schedule is set before anyone gets on a ladder. Measurements, the wall material, sun exposure and fire-rating paperwork decide whether a job moves quickly or stalls. Hanging the panels is usually the fastest part.
If you only do one thing early, ask for the fire-rating and UV documentation when you request a quote. Paperwork that arrives late can delay a project longer than the install does.
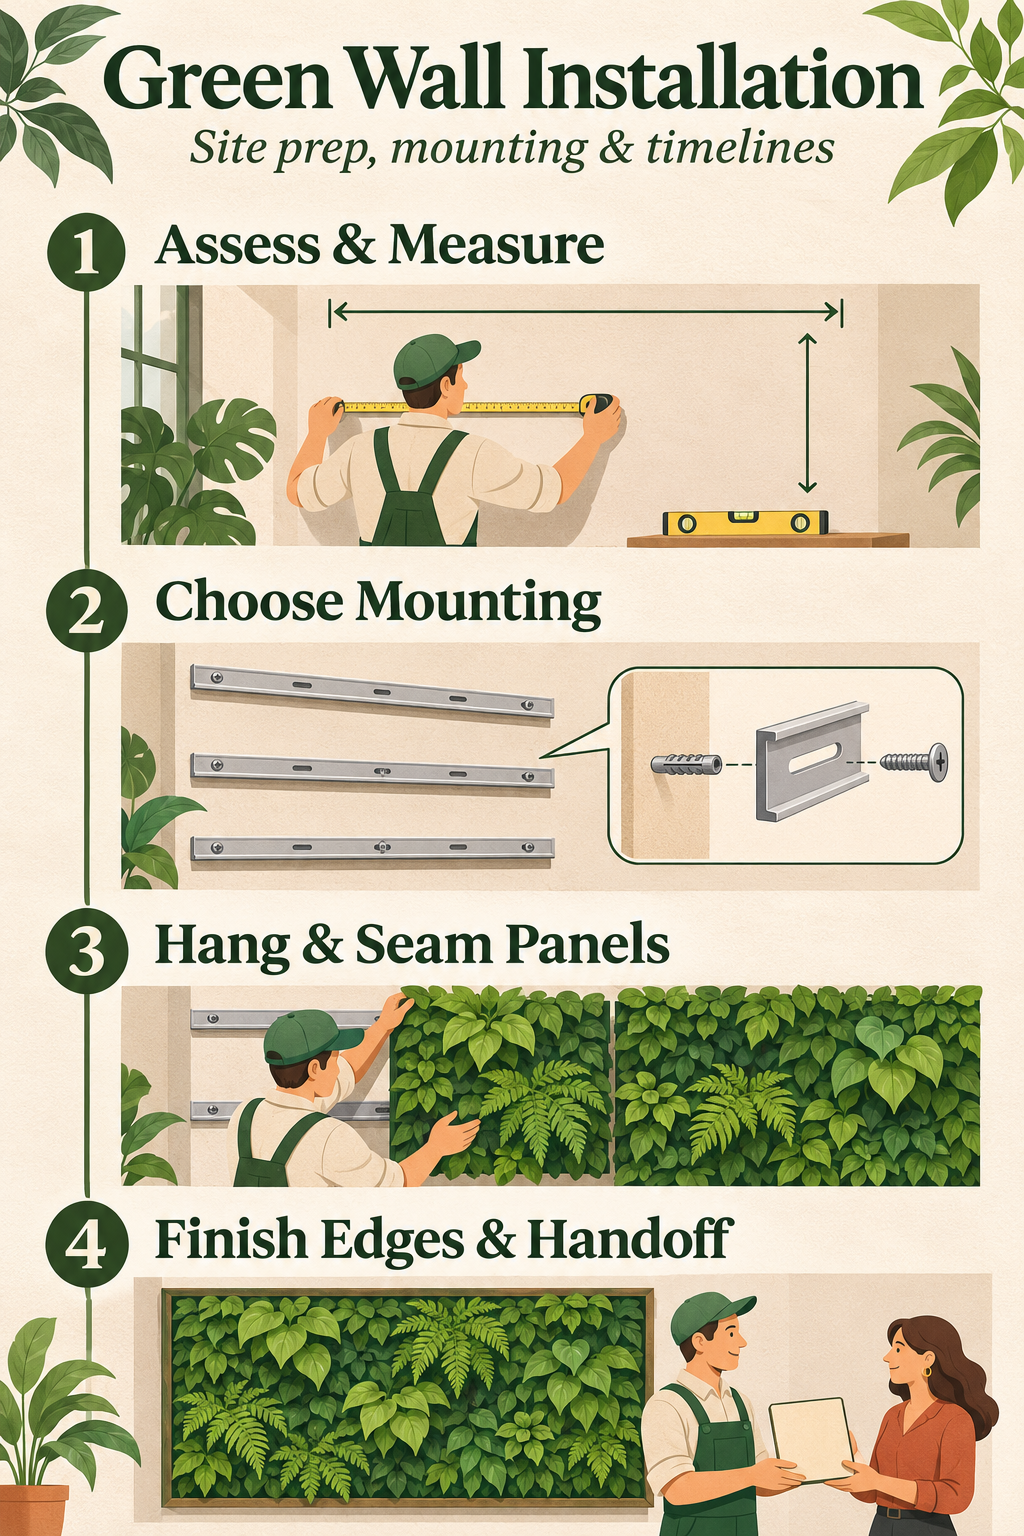
The short version: four phases, in order
- Assess and measure the site: dimensions, wall material, interior or exterior placement, and anything fixed to the wall.
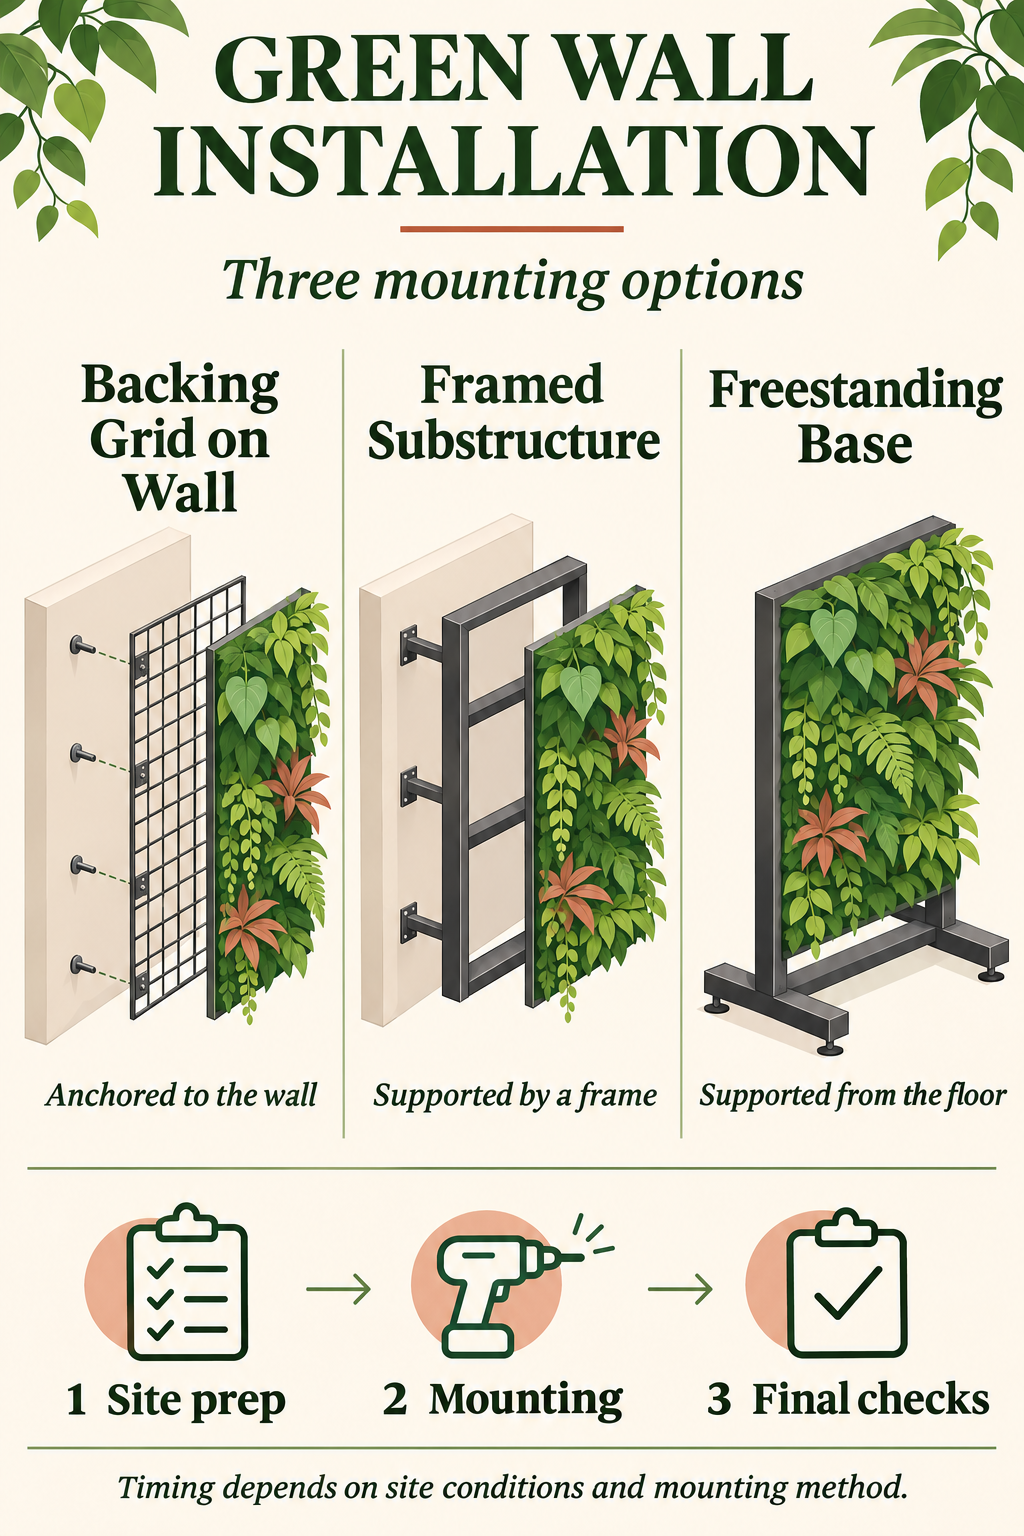
- Choose the mounting method: a backing grid fixed to the wall, a framed substructure, or a freestanding frame.
- Hang the panels, line up the seams and fill in around any cut-outs.
- Finish the edges and hand over: trim or frame the perimeter, check density, and go over care and spare panels.
Product lead time comes before all four. On commercial jobs it is often the longest wait, especially when custom sizing is involved.
Phase 1: Site assessment and measurement
The measurements set the panel count, where the seams fall, and whether you need custom sizing. Measure the full width and height, and note anywhere the wall is out of square or uneven. A gap that looks trivial on a drawing is obvious once the foliage is up.
Interior or exterior?
This is the first big decision. An exterior wall or hedge sits in direct sun, so UV stability becomes the main spec. Ask for UV documentation for the exact panels you're buying, because one product line's rating doesn't automatically cover another. Exterior walls also have to handle wind and weather, and a tall freestanding hedge wall may need an engineer to look at its base and anchoring.
Interior walls avoid the weather questions. They are also where the venue's fire code usually gets checked most closely.
What the wall is made of
The wall material determines the fasteners. Drywall, concrete, block, wood siding and existing tile each need different anchors. Some surfaces can't take panels directly, such as drywall with no blocking behind it or a finish you don't want to drill into. Those need a frame first. Find this out early, because a frame adds a step to the job.
Obstructions, outlets and fixtures
List everything on the wall: outlets, switches, signage, sconces, sprinkler heads and vents. Panels can be cut around most of them. Each cut-out takes time, and the installer has to plan it so the foliage still reads as one surface. If signs or lights will be mounted over the green wall, decide that now so the mounting plan allows for them. Adding them afterward is harder.
Phase 2: Choosing the mounting method
Wall-mounted on a backing grid
Most interior feature walls use this method. A backing grid or lattice is fixed to the wall, and the foliage panels attach to it with zip ties or clips. The grid spreads the weight and gives the panels a consistent surface to attach to. It also makes it easier to pull out a single panel later if one needs replacing.
Framed substructure
If the wall can't take fasteners, or it's too uneven for panels to sit flat, a frame goes up first. This is usually battens or a metal or wood structure, and the grid or panels mount onto it. It takes more work up front, but you get a flat, true surface. On exterior walls the frame can sit slightly off the wall, which helps drainage and airflow.
Freestanding hedge walls and privacy dividers
Restaurant patios, event spaces and multifamily courtyards often use freestanding units, such as privacy dividers, planter-box hedges or framed hedge walls. These don't attach to an existing wall, so the work goes into the base: how it's weighted or anchored, how stable it is, and how it sits on the finished floor or paving. For exterior freestanding units, have a qualified professional check the anchoring for your site.
Phase 3: Hanging panels, managing seams, finishing edges
This is the part people picture when they think of an install, and it goes quickly when the prep is done properly. Installers usually work out from a reference line instead of starting in a corner, so any adjustment ends up at the edges and not in the middle of the wall.
Seams are where a panel wall gives itself away. Interlocking panels should be pulled tight against each other, and then the installer fluffs and works the foliage across each joint until the grid lines disappear. Don't inspect a fresh wall from a few inches away. Step back to normal viewing distance and look for lines from there.
How the edges are finished depends on the design. Some walls run edge to edge with the foliage trimmed clean at the perimeter. Others sit inside a frame or trim reveal that gives a crisp border. In hotels and restaurants, a framed edge tends to look more finished. Settle the edge treatment during design, because it changes the measurements and the panel count.
Before handover, walk the wall looking for thin spots, and adjust or add foliage where needed. Go over maintenance, which for artificial foliage mostly means occasional dusting or gentle cleaning following the manufacturer's guidance. Also ask whether you can keep spare panels from the same production run. Matching color and density later is much easier if a few panels were set aside at install.
What drives the timeline
No single figure for green wall installation time holds up, because projects differ too much. These are the things that move the schedule:
- Lead time. Stock panels and made-to-measure hedge walls ship on different schedules, so get a confirmed lead time with your quote.
- Fire-rating paperwork. If your venue, architect or fire marshal needs fire-rated product documentation, ask for it at the quote stage. Waiting on it late in a project is a common delay, and an avoidable one.
- Substructure. A wall that needs a frame before panels go on adds a phase.
- Size and access. Large walls, double-height spaces and anything that needs a lift or scaffolding take longer, and the work may have to be scheduled around operating hours.
- Cut-outs and detail. Each outlet, sign, curve and corner adds time.
- Site readiness. Panels should go up after the messy trades are finished, so drywall dust and paint overspray don't settle in the foliage.
A simple interior panel wall on a ready surface is at the quick end. A large exterior freestanding hedge with custom sizing and engineered anchoring is at the slow end. Your quote should give you a realistic window for your own scope.
Questions to ask before you sign off on an install
- Which mounting method is planned, and why does it suit this wall?
- Is the product UV-rated for this exposure, and can I see the documentation?
- Is fire-rated documentation available for the exact product and backing being installed?
- How will the seams and edges be finished?
- What is the confirmed lead time, and does it include custom sizing?
- Can we keep replacement panels from the same production run?
- What does ongoing maintenance involve?
Questions buyers ask
Does an artificial green wall need irrigation or a drainage plan?
It doesn't need irrigation. On exterior installs, you still need to plan for rain running off behind and around the wall, which is one reason a framed standoff is sometimes used.
Can an artificial green wall go on drywall?
Often, yes, with the right anchors or with blocking behind the drywall. Larger or heavier walls may need a substructure. Your installer should confirm this after a site check.
Can green wall panels be cut around outlets and fixtures?
Yes. Panels can be trimmed around most fixtures. Each cut-out adds install time and should be planned so the foliage still looks continuous.
Are artificial green walls fire-rated?
Some products have fire-rating documentation. Ask for the documentation for the specific product you're buying, and check it against your venue's requirements.
What maintenance does an artificial green wall need?
Occasional dusting or gentle cleaning following the manufacturer's guidance, plus a periodic check for loose panels or thin spots. It doesn't need watering, trimming or feeding.
If you're planning a commercial artificial green wall, hedge wall or privacy divider, send Geranium Street your dimensions, a few photos of the wall or site, and whether it's indoors or outdoors. We'll recommend a mounting approach and products for the space and give you a lead time.